ChannelMate
A visual guide to ChannelMate — including the new DVR, full-day EPG, programme scheduling, USB and NAS recording.
Release 1.5.13Not even ChannelMate can read your encrypted playlist credentials
Your browser
URLs, M3U, credentials, PIN
Ciphertext
Unreadable encrypted data
ChannelMate server
No decryption key
For encrypted uploads, playlist URLs, uploaded M3U files, Xtream credentials, EPG URLs and PINs are encrypted in your browser before they reach our server. The server receives only unreadable ciphertext. We do not hold the private key, so we cannot decrypt, view or reuse your playlist. Only the matching ChannelMate app installation can unlock it. The encrypted assignment stays available for Reload until replaced or deleted; delivery and 24 hours are not deletion deadlines.
Older-app compatibility uploads are stored in readable form and are excluded from this encryption promise. If a compatibility warning appears, upgrade the app before uploading.
Home & Playlists
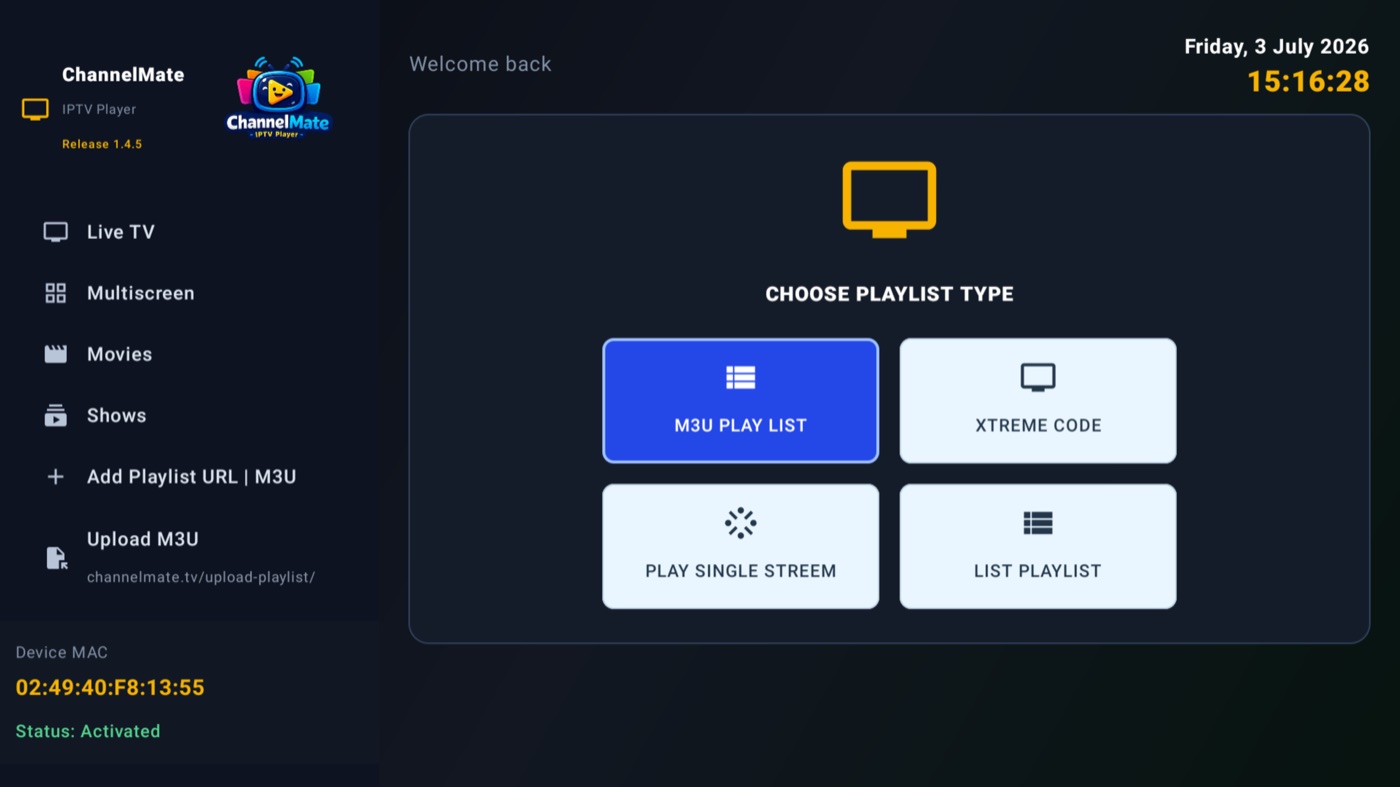
Load an M3U playlist, Xtream Code, a single stream, or a shared list — everything shows up on one Home dashboard with channel, movie and show counts and per-group management.
Multiscreen
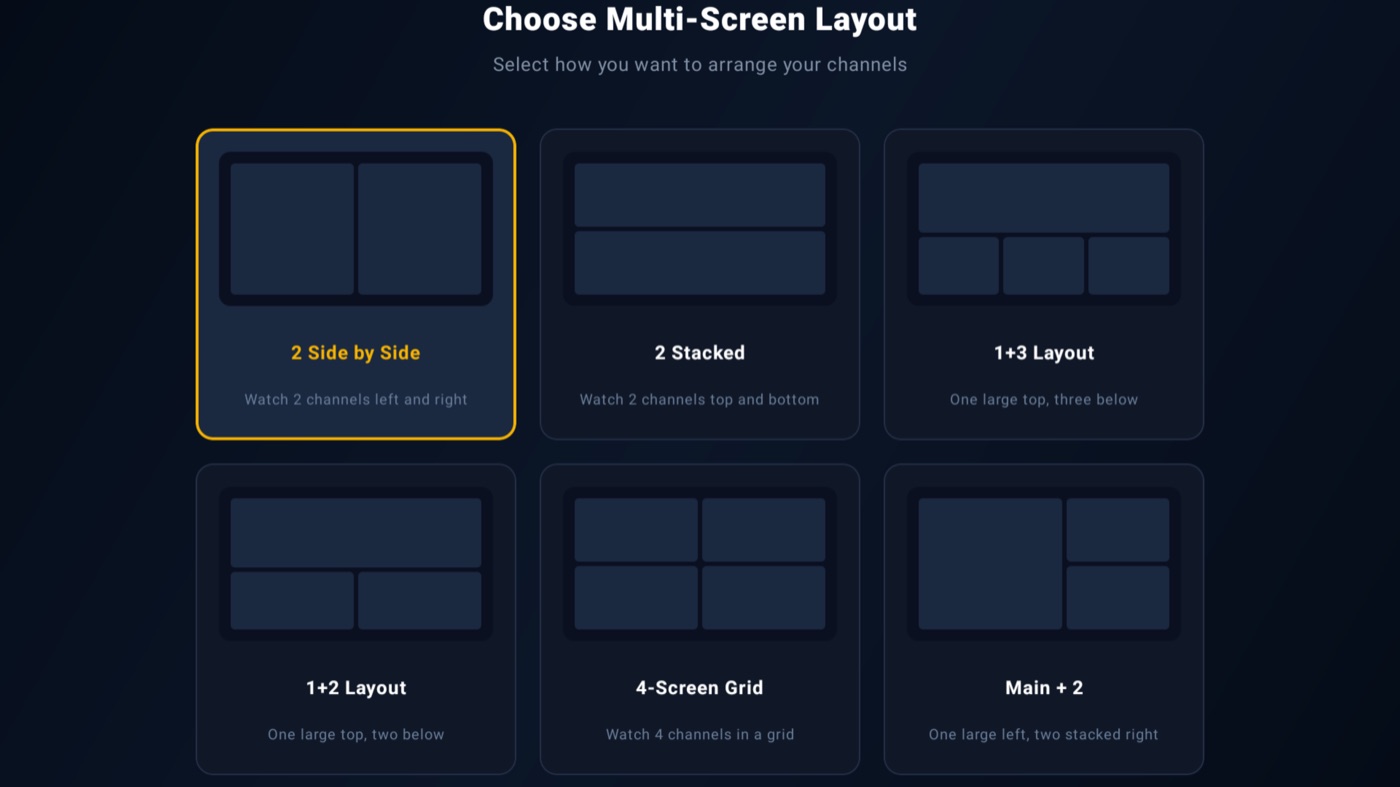
Watch several channels at once — pick from six layouts, from simple side-by-side to a full 4-screen grid. Perfect for catching two matches simultaneously.
Record a Live Programme
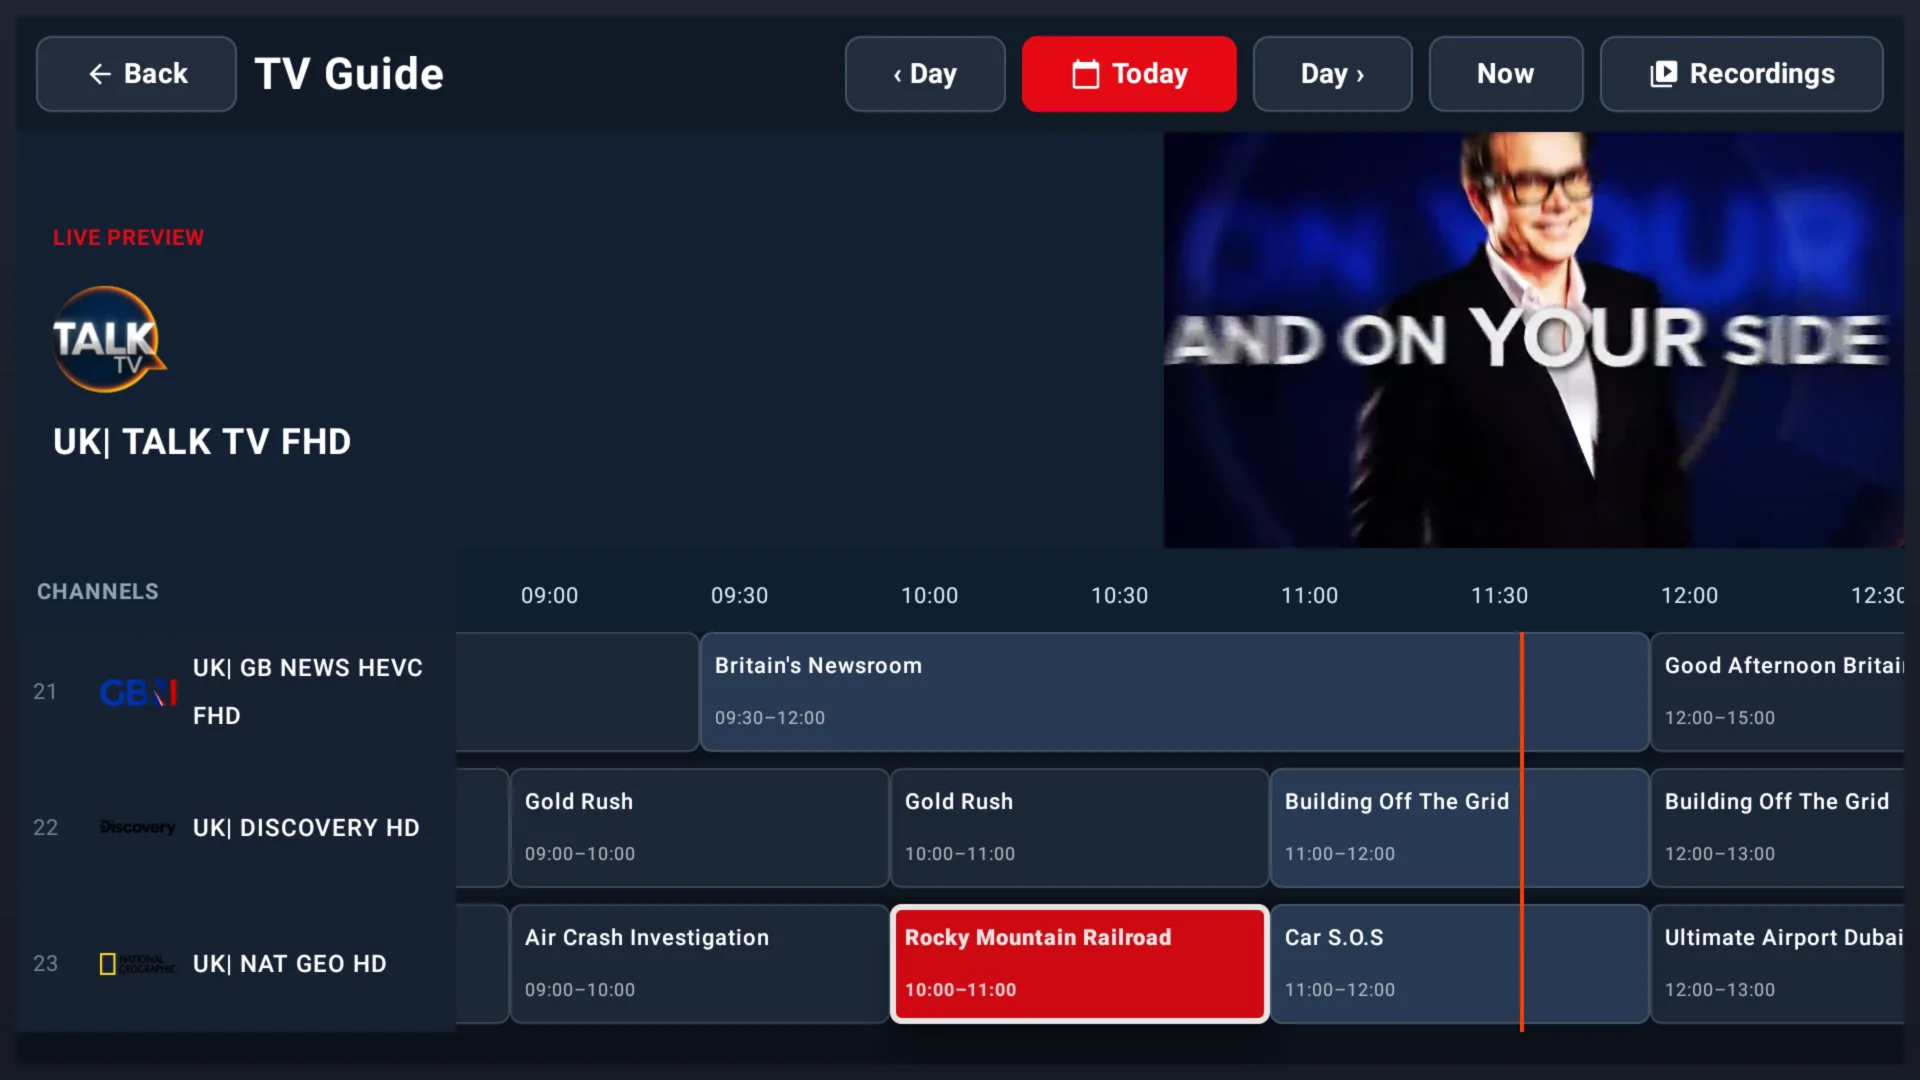
NEW in 1.5.13The redesigned full-day EPG makes the programme currently on air easy to find. Open it, choose Record and ChannelMate starts a DVR job using your selected recording destination.
- 1From Live TV, select a channel and open EPG.
- 2Choose Now, highlight the programme currently on air and press OK.
- 3Move to Record and press OK. Open DVR → Recording to monitor it.
Schedule a Programme or Series
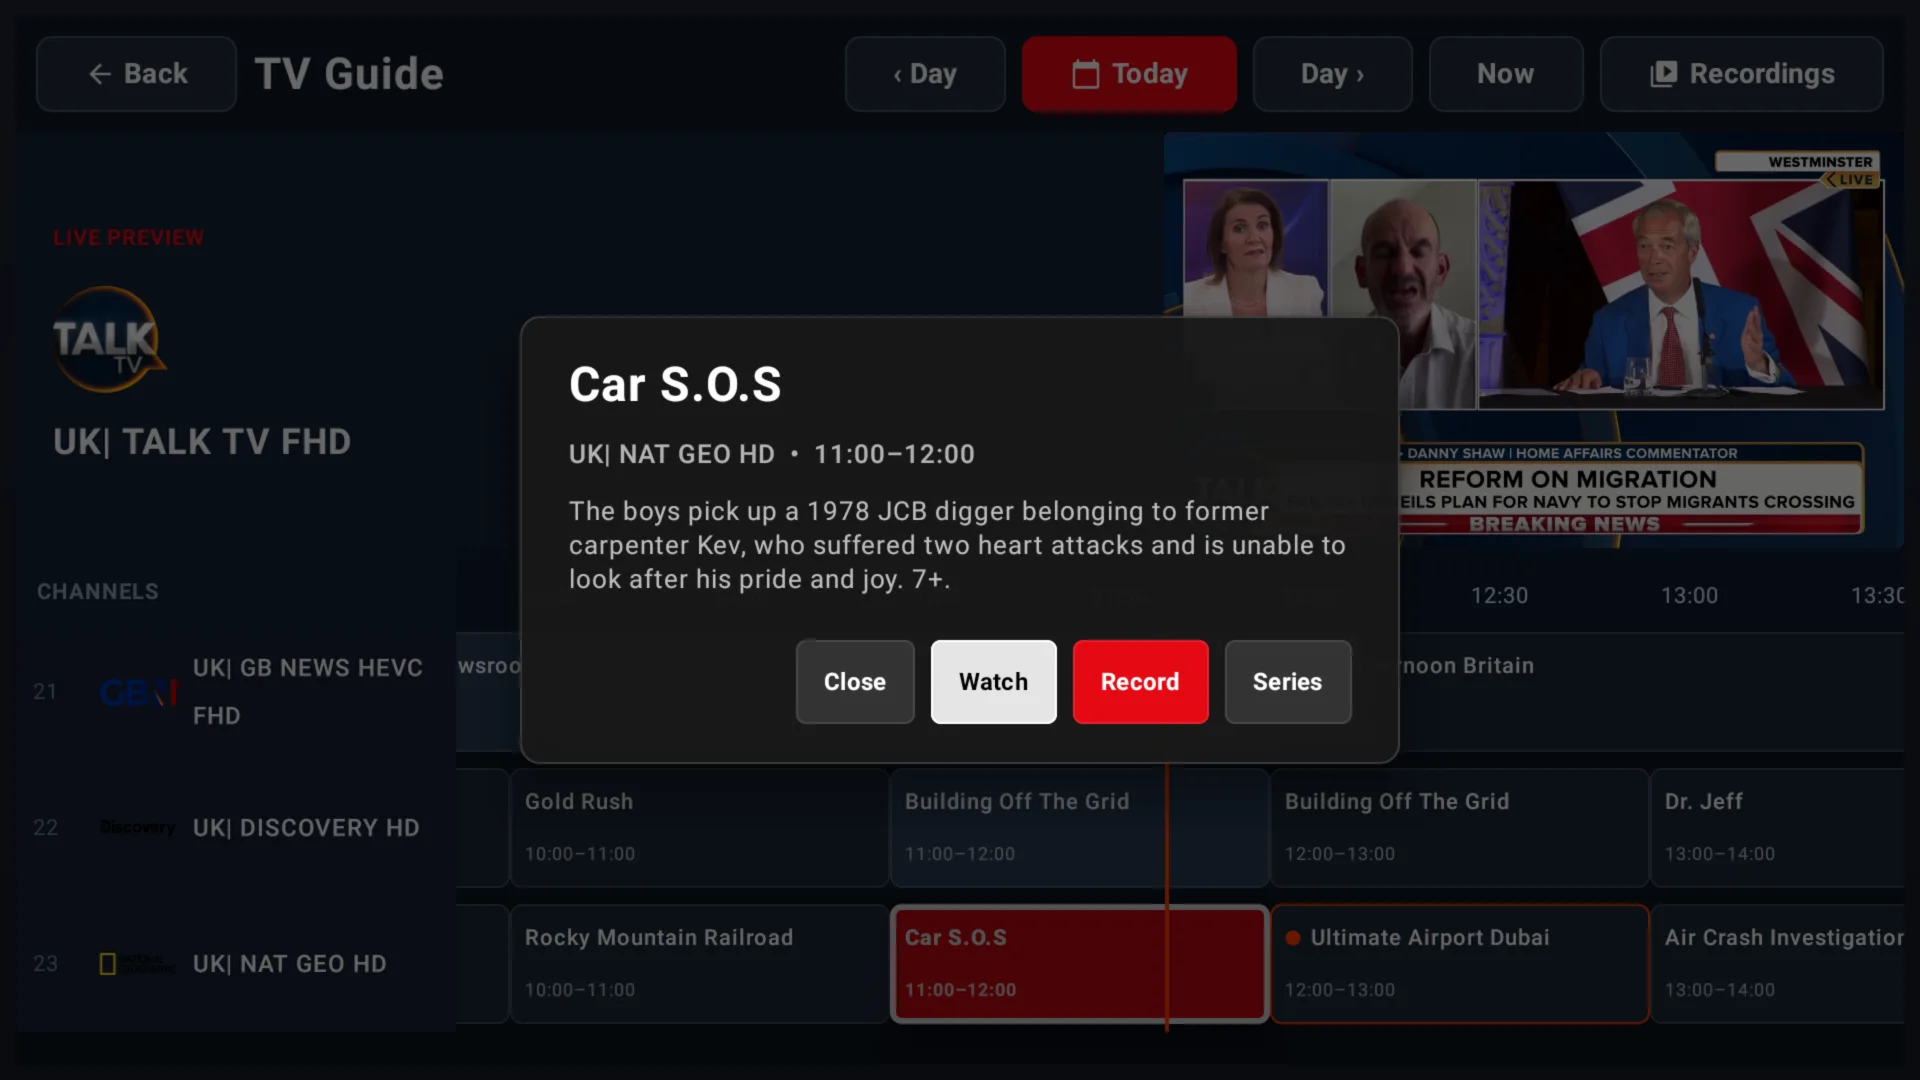
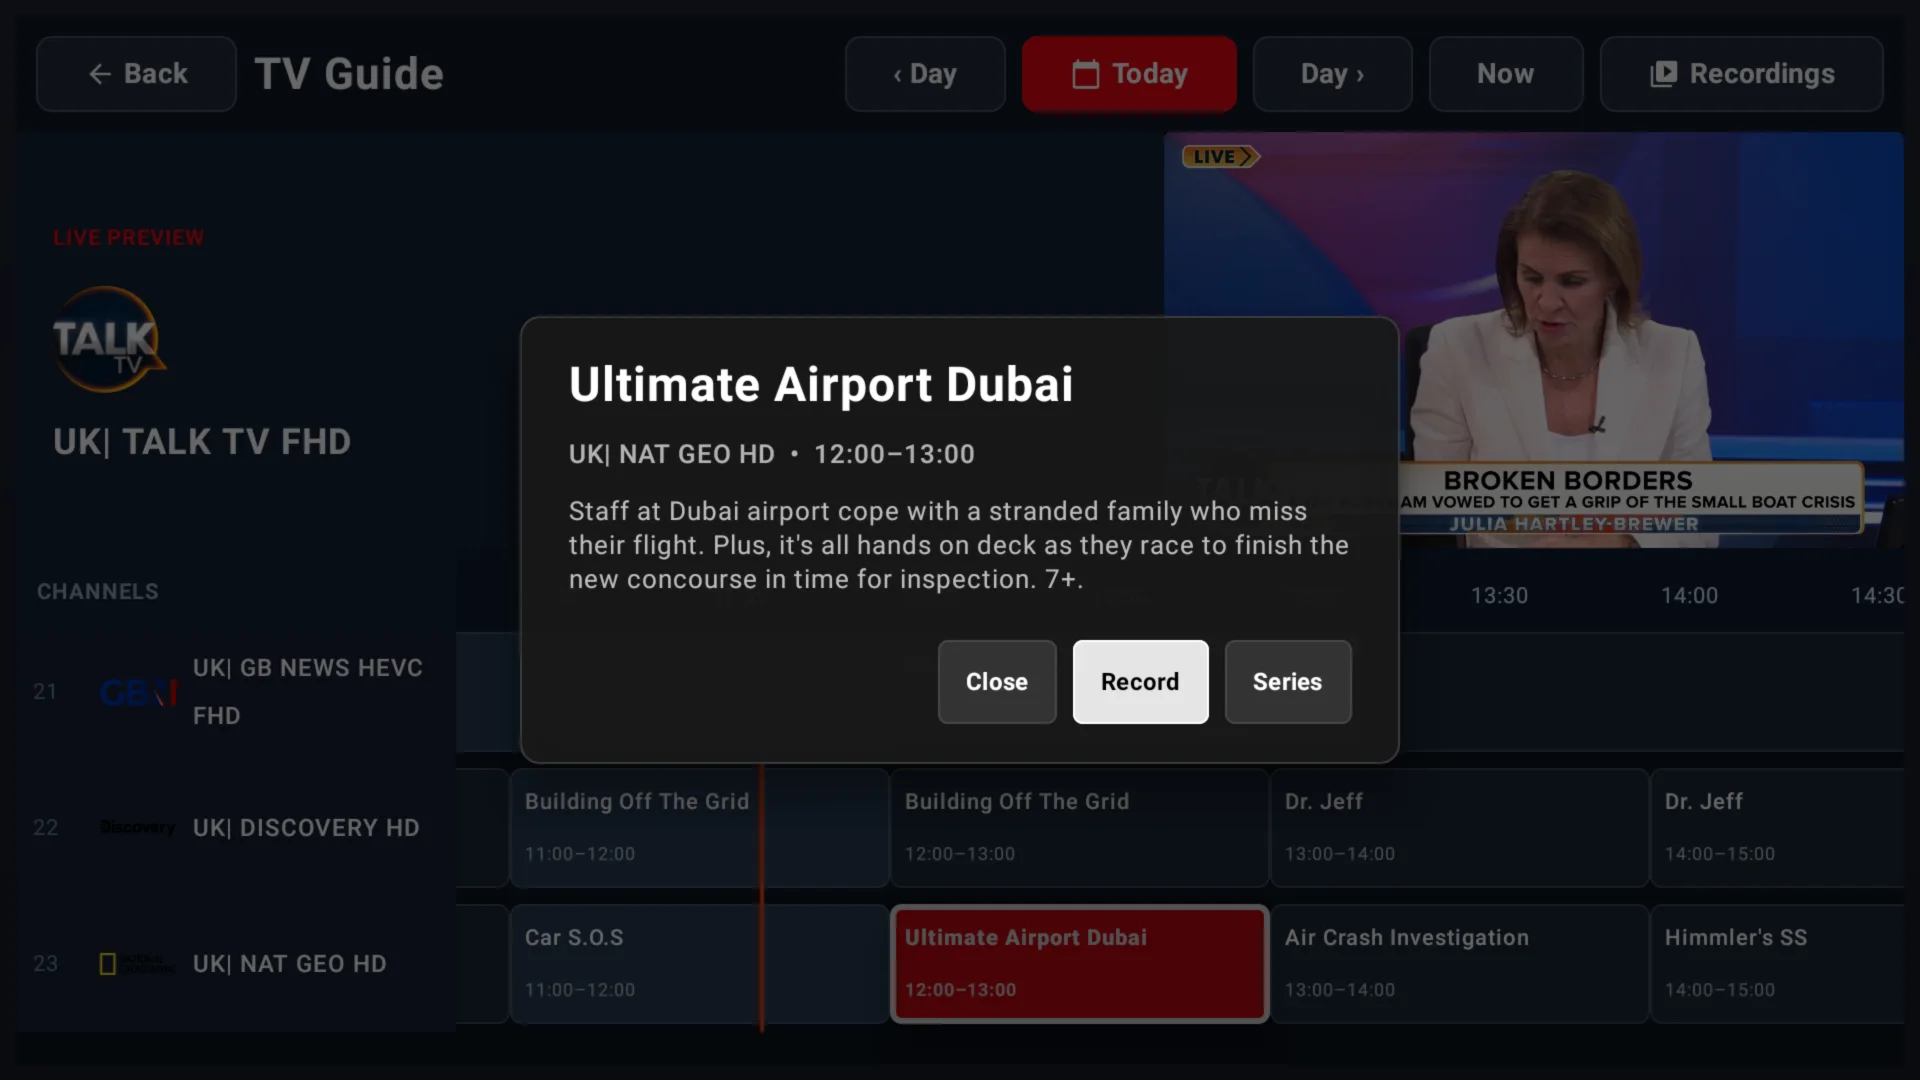
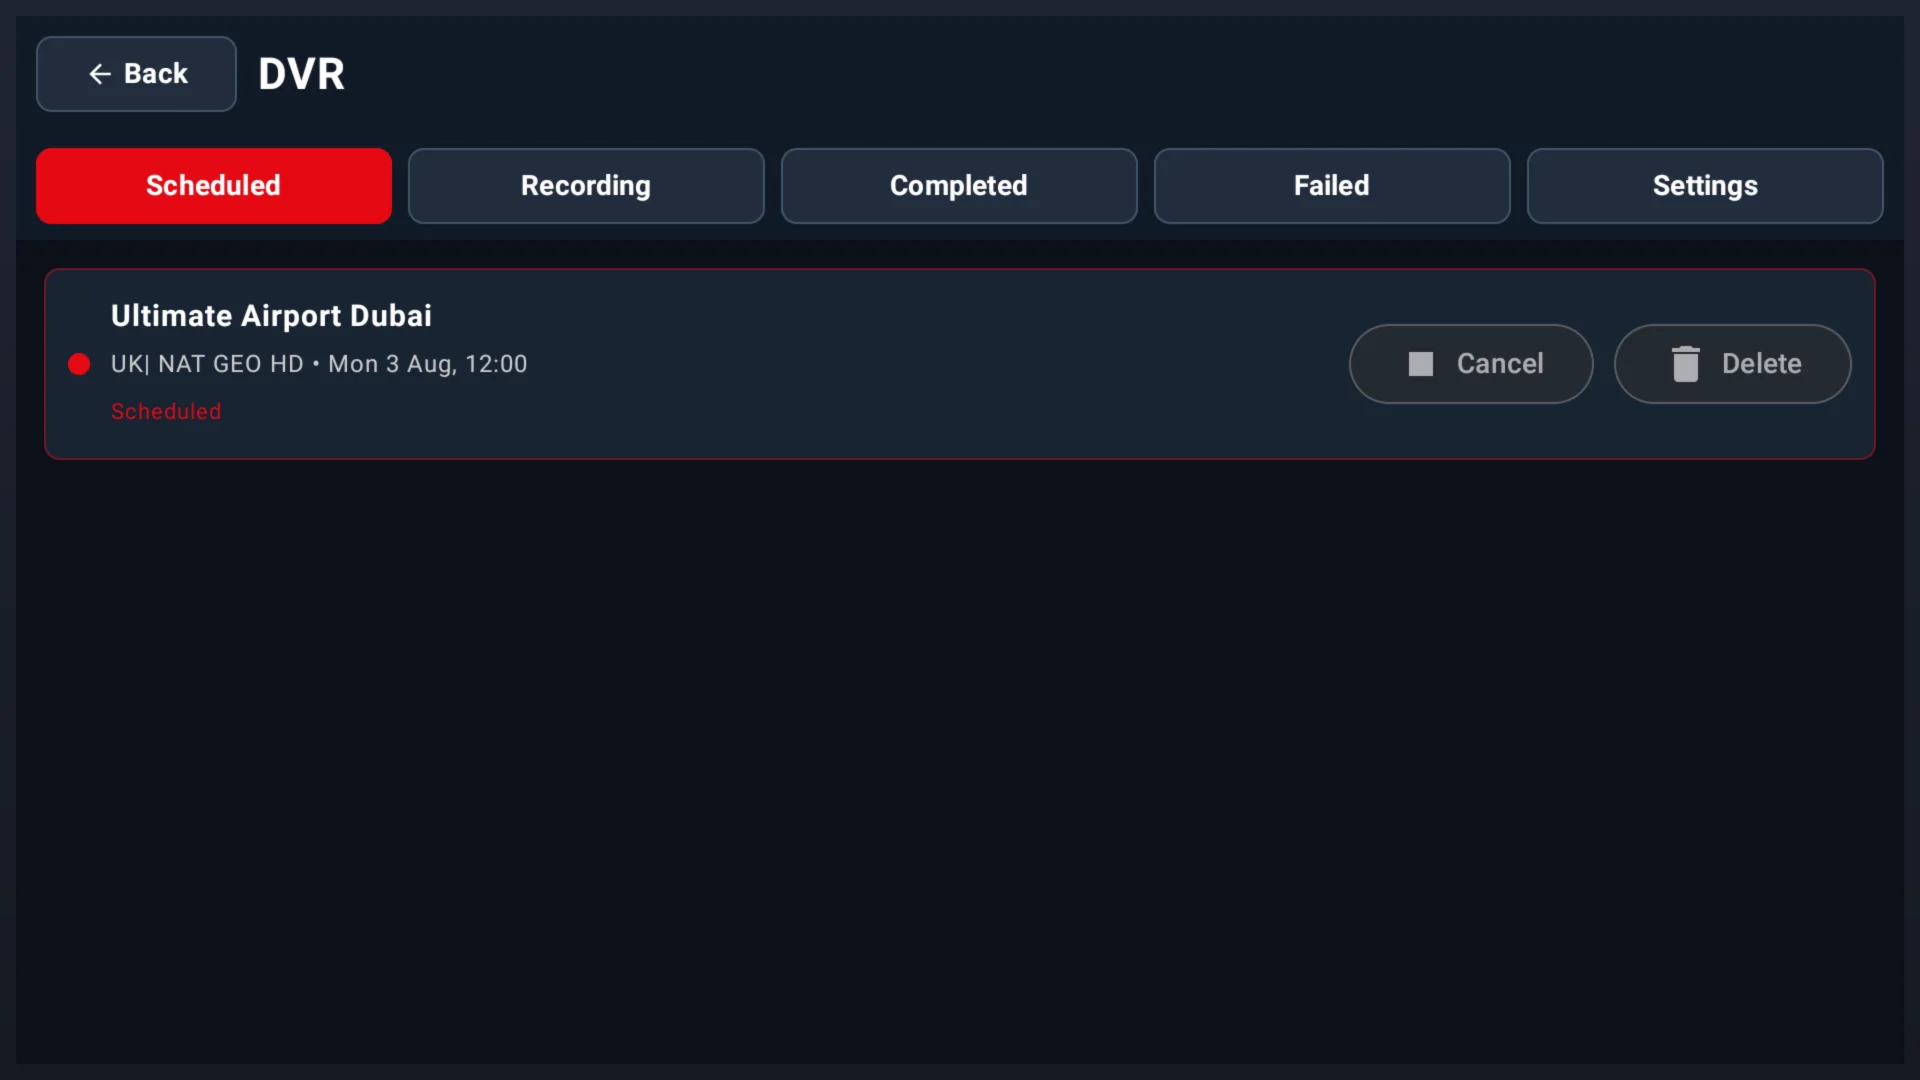
NEW in 1.5.13Move forward through the timeline and schedule a future programme without leaving the guide. Scheduled jobs are collected in one DVR screen where you can review or cancel them before they start.
- 1Open the EPG and move right to a future programme.
- 2Press OK, then choose Record for one programme or Series for matching episodes.
- 3Open DVR → Scheduled to confirm the date, time and channel. Use Cancel if your plans change.
Save Recordings to USB or NAS
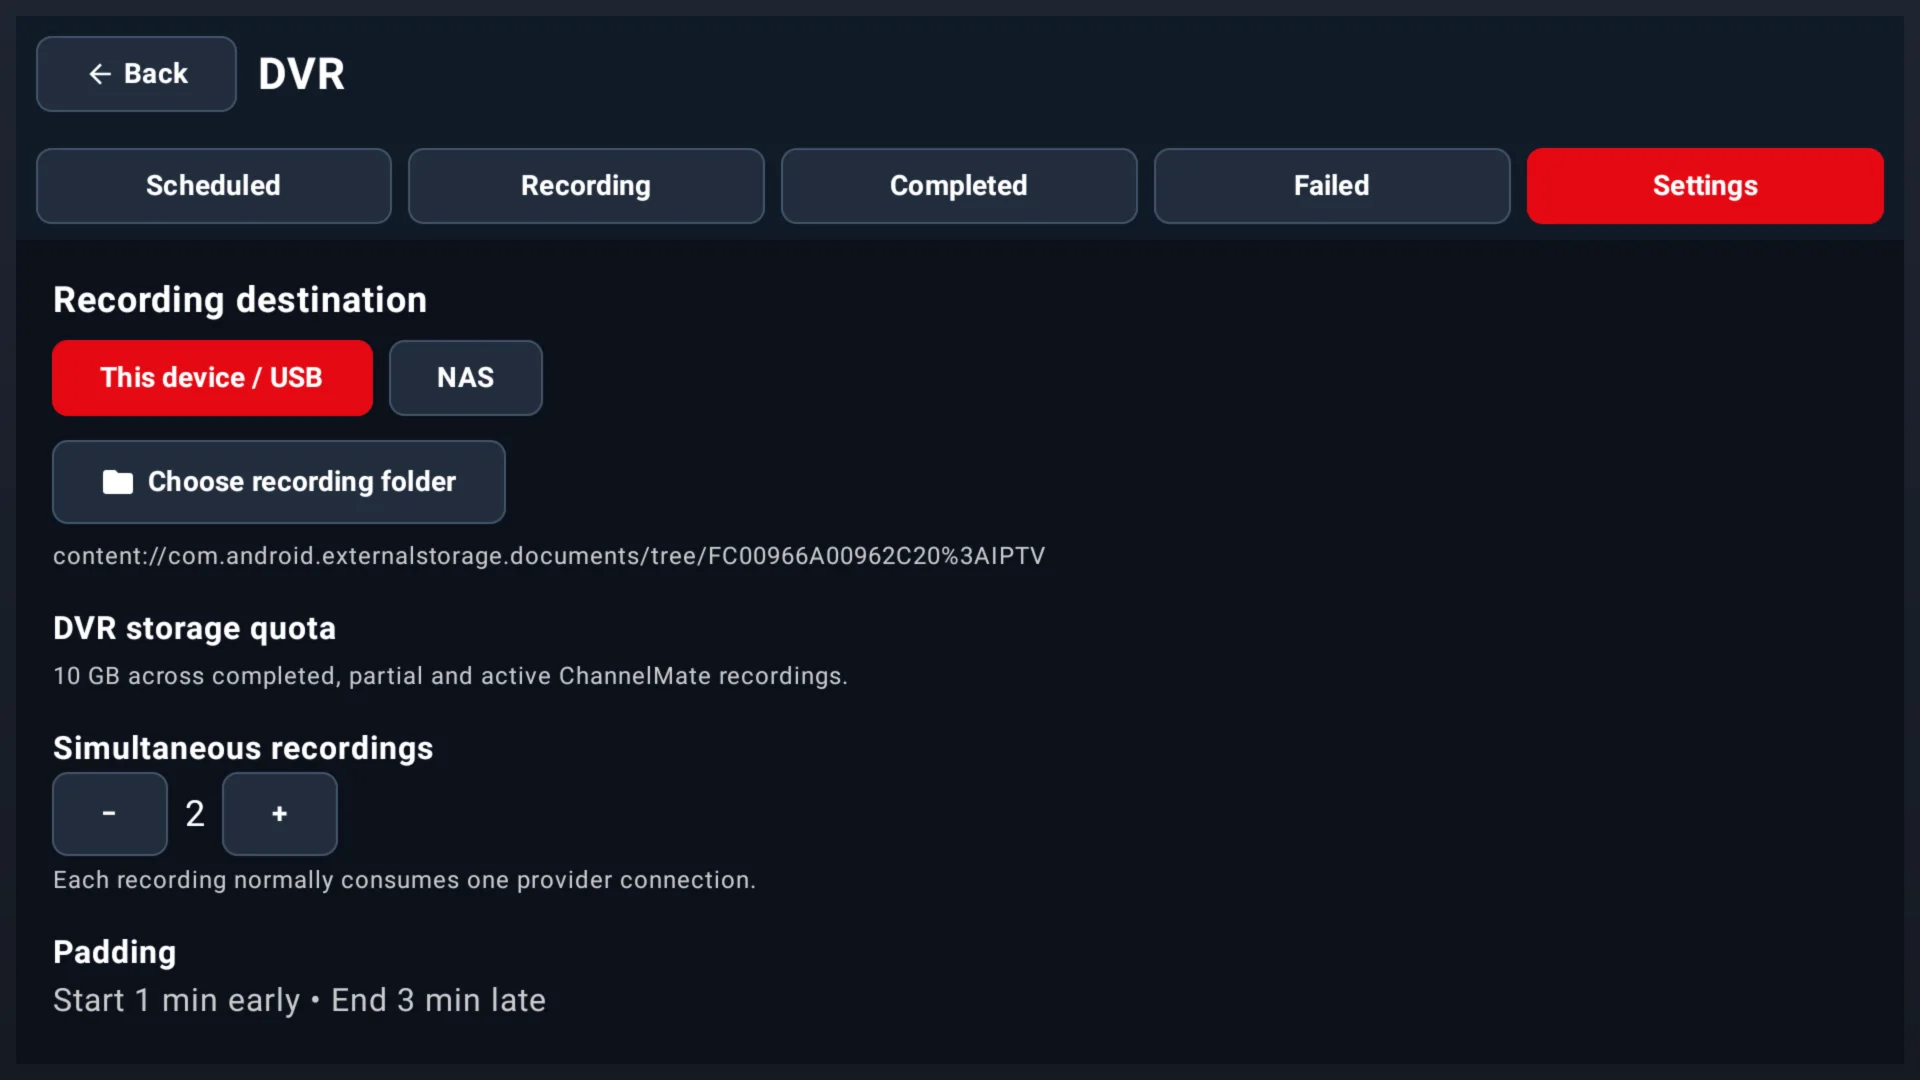
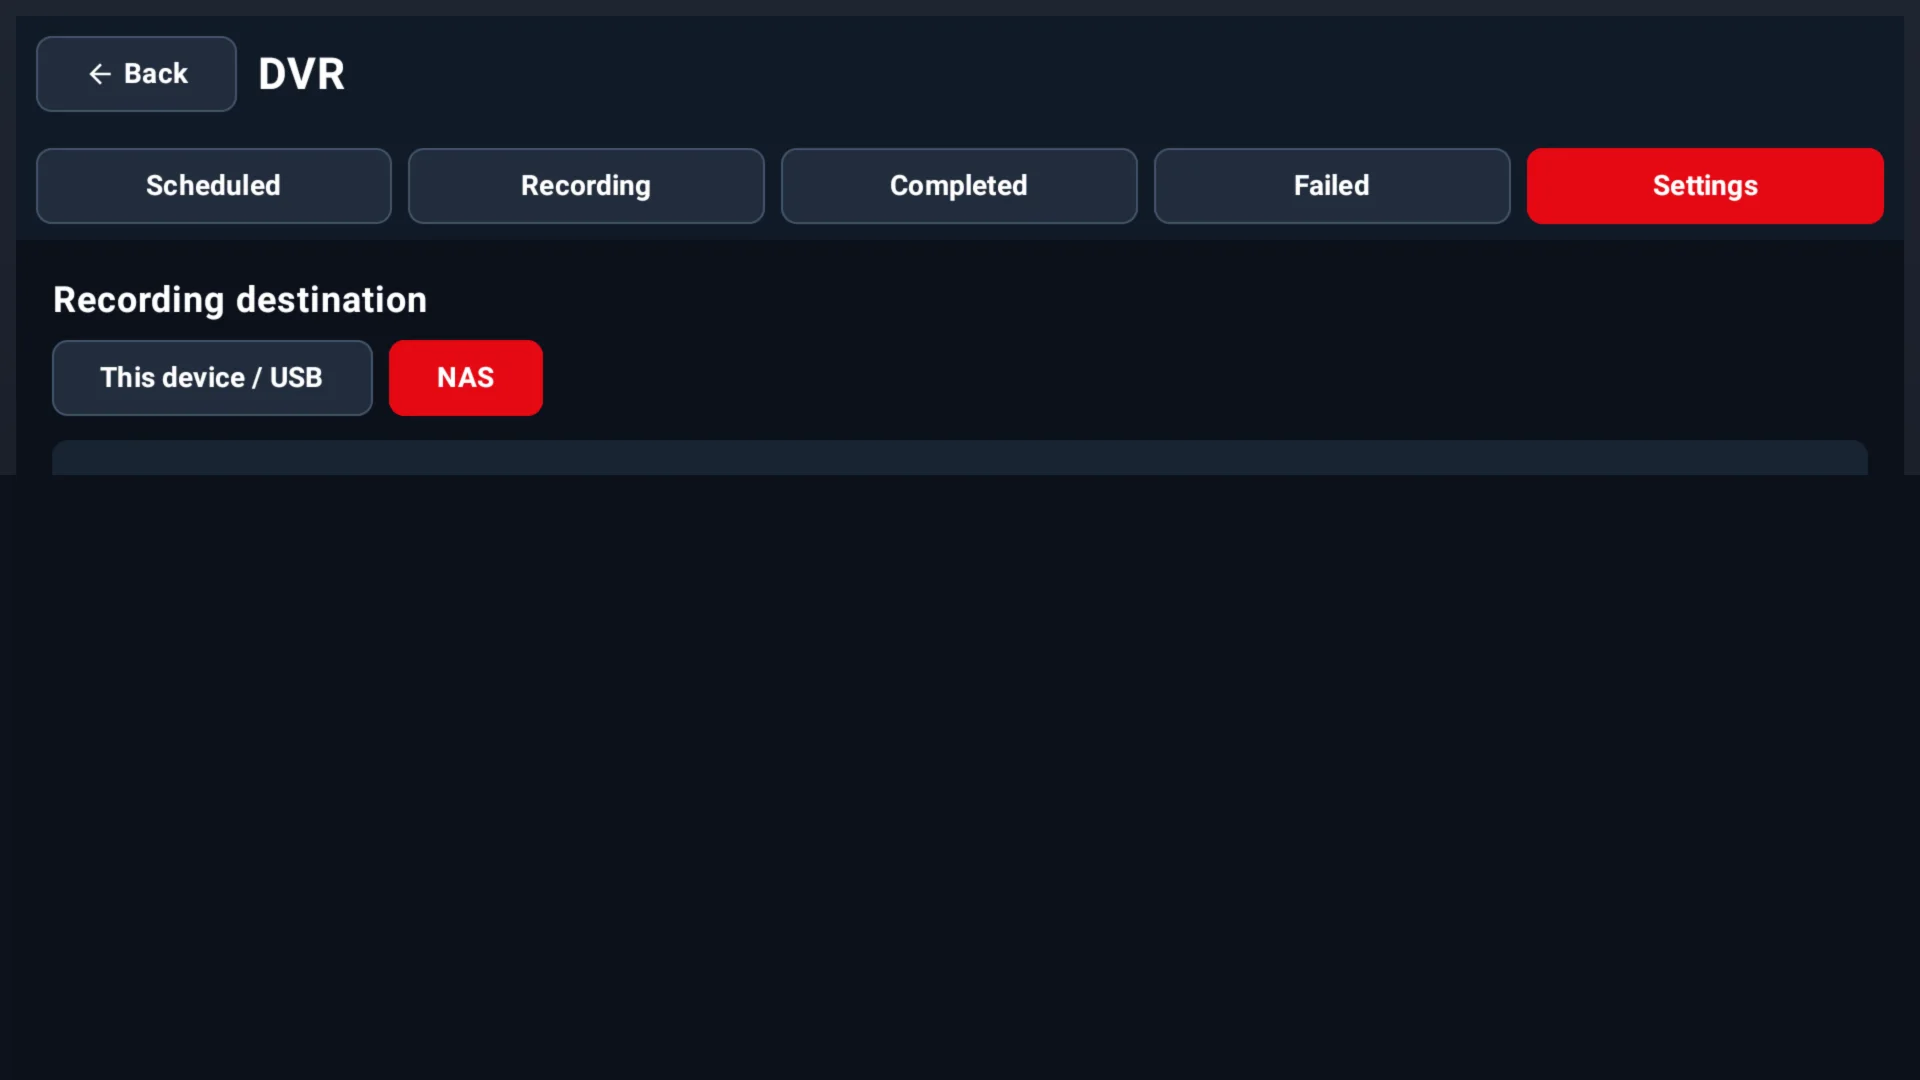
NEW in 1.5.13Choose where ChannelMate stores DVR files. Use a folder on this device or supported USB storage, or connect your own NAS over SMB or NFS. You can also set a storage quota, simultaneous recording limit and start/end padding.
- 1Open DVR → Settings and choose This device / USB or NAS.
- 2For USB, choose a recording folder and approve Android folder access. For NAS, select SMB or NFS and enter the share details.
- 3Set your quota, simultaneous recording limit and padding, then save the configuration.